 |
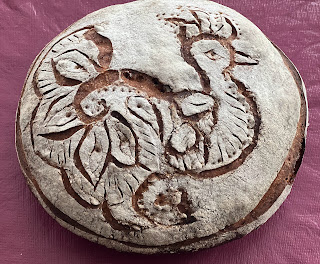
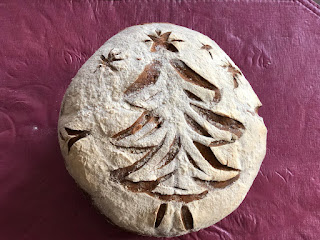
| At the bottom I have posted the evolution from my first loaf |
The year 2020 will be known forever as the time when populations grappled with the COVID19 pandemic. Over the year people struggled to accommodate a sense of isolation as the many activities enjoyed away from home became restricted. In this eerie new environment it was not uncommon to find normally restrained people fighting in grocery aisles over toilet paper and paper towels, which soon became an extinct commodity until stores managed to re-stock their shelves. Suddenly the world became different and slowly but surely we all adjusted to a normalcy of wearing masks outdoors, washing our hands regularly and using sanitizers constantly.
This sense of isolation bred a new awareness of domestic "bliss" as people found they spent more time together preparing and eating meals at home. Soon there was a rush to purchase flour and yeast as bread making became a new craze. If you were late on the band wagon of home made bread you were out-of-luck as yeast disappeared from grocery shelves.
With no yeast to help bread rise one might have felt at a loss, but a new breed of newbie bread makers "rose" to the challenge and "sour dough bread' became the new star. For centuries bread was made using wild yeast cultures, and sour dough bread is one of the oldest breads known to man.
Interestingly enough one of the oldest sour dough breads was excavated in Switzerland and was dated from 3700 BC. However, bread was probably around much before this date. Wild yeast was used in cooking in many ancient civilizations and is also vital in early home brewed alcohols.
Several months into the pandemic I decided to look into making sour dough bread but I was driven away by the lengthy process and the amount of hands on time required to produce a good sour dough loaf. For those who read my blog I love simpler measures without sacrificing taste.
Recently I decided to give this wonderful, tasty bread a go. I did one attempt at the long drawn out method and was exhausted by the time I finished, but my loaves were beautiful, browned well and tasty. But I was adamant that I would research until I could get the same result in a simpler approach. Hence a week later I found a link which I tried and got great results without the excessive "folding" other recipes called for.
At the end of this blog I will refer you to both links should you wish to do the longer method, but you have my guarantee that you cannot tell the difference in the final product if you use the method I have described below.
Note: I would strongly recommend you find someone who would share their starter with you. I got my starter from my daughter and her fiancé. There are many recipes on line for getting your starter ready. It is actually very easy to do.
Okay roll up your sleeves and lets get started
Ingredients
4 oz Sour dough Starter
12 oz water
1 lb plus 4 oz of flour ( all purpose white flour)
1/2 -3/4 teaspoon fine salt
Method
The day before you plan to bake take your starter out of the fridge. Add 1 tablespoon of flour and 1 tablespoon of filtered water and stir well till mixed. Leave it on the counter overnight.

The next day when you are ready to start your bread, use a large bowl and add the starter. Add your water and mix with the starter. To this add your flour and salt.

Using a spoon or a spatula mix all the ingredients till the flour is all incorporated in the dough. It will be a little sticky.


Now use you hands to form the dough into a loose ball. ( Note I floured my hands first). This step is not necessary unless you like to see symmetry in everything you do.
Note: It is only important that your water and flour are mixed well. Shaping will be done later.

Cover with a moist dish cloth and leave on the counter for 12 -24 hours until it has doubled in size. ( I left mine overnight and my starter was very active so my dough was ready by the next morning)

Take a dish cloth and line a round bottom bowl (I used a colander that I had on hand). The bowl must be large enough to contain your dough at double the size. Flour the dishcloth well on the entire surface that's in the bowl. Keep near.
Lightly flour the surface you are going to work on as well as your hands. Gently remove the dough from container and put on the floured surface. Use your hands to shape the dough by pulling towards the dough and tucking under the bread (refer to the video link to watch the process at about the 15 minute mark)


Put the bread in the oven at 500F and reduce the heat to 425F. Bake for 45 minutes without opening the oven. The interior temperature of the dough must be 210F. I had a nice brown crust, and when removed the bread had a nice hollow sound when knocked on.


Remove and cool completely before slicing. This is the first loaf I ever baked. It tasted great and as time went on I developed a liking for scoring and painting my loaves


As promised here are both the links that I used
1. This link is for the longer process, but it is worth reading through . Be prepared to spend almost a whole day tending to your bread dough.
2. Here is the link that I found most helpful to simplify the process. I only changed the baking vessel and baked directly on a baking tray.
https://www.youtube.com/watch?v=x1EBQclnVYU
https://www.youtube.com/watch?v=zWGkUvS6ZCI&t=0s


No comments:
Post a Comment